 Reviews



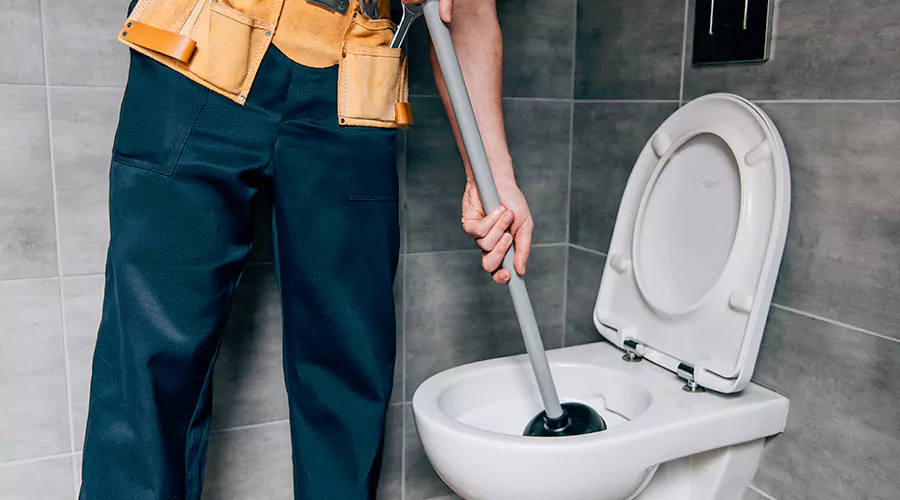
Plunging a toilet correctly usually takes about 20 to 30 seconds per attempt, while an unresolved clog can cost about $85 to $600 to repair in 2026. The most important step is creating a water-filled seal rather than forcing trapped air into the toilet outlet. Well pump repair can address water supply issues when a private well pump is not delivering consistent pressure or flow.
Learning how to plunge a toilet is mostly about technique. Harder pushing does not automatically create a better result.
The right plunger also matters. A toilet needs a flange-style cup that fits inside the bowl outlet rather than a flat cup designed mainly for sinks.
What Type of Plunger Should You Use for a Toilet?
A flange plunger works best because its extended rubber section fits inside the toilet drain opening. The flange helps create a seal around the outlet. A flat cup can lose pressure because the curved toilet bowl does not provide the same flat contact surface as a sink.
- Common toilet designs work with a flexible flange-style cup.
- Lowe's specifically recommends a toilet plunger with a funnel or cone extending below the main cup.
- A soft rubber cup can conform to the shape of the bowl.
- A larger cup also holds more water during each stroke.
Inspect the rubber before starting.
Cracks or hardened edges make a strong seal difficult.
The tool should move water through the trap rather than simply splash the bowl.
What Should You Do Before Plunging?
Stop the water supply if the bowl is close to overflowing. The plunger needs enough water to cover its cup but not so much that every stroke sends contaminated water onto the floor. Correct water level gives you pressure without adding unnecessary overflow risk.
- Turn the shutoff valve clockwise if water continues entering.
- Place towels around the fixture.
- Wear rubber gloves.
- Remove some bowl water if the level is dangerously high.
- Add a little water if the plunger cup cannot stay submerged.
Home Depot recommends closing the flapper or shutting the supply valve before plunging a toilet that could overflow.
Warm water can also soften a stiff rubber plunger before use.
Why Does the Seal Matter So Much?
A plunger works by moving water against the obstruction. Water transfers force better than a cup filled mainly with air. A poor seal lets pressure escape around the rubber edge instead of sending it into the toilet trap.
- Lower the plunger slowly into the bowl.
- Tilt the cup slightly.
- Let water replace the air trapped underneath.
- Center the flange over the outlet.
- Press gently until the cup seals.
- Do not lift the rubber completely away during each stroke.
A tight seal should remain through both directions of movement.
This Old House recommends beginning gently before increasing pressure. The approach reduces splashing and helps preserve the seal.
How Do You Plunge a Toilet Step by Step?
Correct plunging a toilet technique uses controlled push and pull movements while keeping the rubber sealed. Work for about 20 seconds before stopping to observe the bowl. The clog should loosen through repeated pressure changes rather than one violent downward push.
- Place the flange directly into the toilet opening.
- Tilt the cup so it fills with water.
- Press down gently to create the first seal.
- Pull upward without breaking contact.
- Continue steady vertical movements.
- Increase the force gradually.
- Finish with a stronger pulling stroke.
- Wait and watch the bowl.
This Old House recommends a roughly 20-second plunging cycle. Lowe's gives a working range of about 15 to 30 seconds.
Do not immediately flush after the first change in water level.
Let the bowl settle first.
Should You Push or Pull Harder With a Plunger?
The pulling stroke can be especially useful because the toilet trap narrows as material travels through it. Strong downward pressure can sometimes compact a soft clog farther into that narrowing space. Pulling can disturb the blockage in the opposite direction and help break it apart.
- This Old House specifically recommends drawing the obstruction back toward the bowl when possible.
- That does not mean you should avoid downward motion.
- A plunger still needs both directions to create changing pressure.
- The difference is where you apply the strongest effort.
- Keep the handle vertical when possible.
- An angled stroke can break the seal.
- Consistent rhythm normally works better than random force.
What Signs Show That Plunging Is Working?
A successful plunging attempt changes how the bowl water moves. The strongest sign is a fast drop followed by normal drainage. A slow drop can mean that only part of the obstruction has moved and the remaining passage is still restricted.
- Watch for a clear downward pull.
- Listen for normal drain movement.
- Notice whether the bowl refills to its usual level.
- Do not rely on sound alone.
- Test carefully after the water has settled.
- A clog that returns immediately was not fully cleared.
This matters because soft material can shift enough to allow one successful drain without completely leaving the trapway.
How Should You Test the Toilet After Plunging?
Test the drain with a limited amount of water before releasing a full tank. This protects the floor if the obstruction remains. The test should show that the bowl can accept water quickly without rising toward the rim.
- Wait until the bowl is stable.
- Add a moderate amount of water.
- Watch how quickly it leaves.
- Stop if the water rises.
- Repeat only when normal drainage is visible.
A full flush is reasonable after the controlled test succeeds.
The toilet should clear normally on the first complete flush.
If it still drains slowly, another mechanical step may be necessary.
What If Plunging Does Not Work?
A toilet auger is the next mechanical tool when several correct plunging attempts do not clear the trap. The auger's cable can travel farther through the toilet while its protective guide limits metal contact with the porcelain.
- A closet auger is designed specifically for toilets.
- Do not substitute a bare metal cable without considering surface damage.
- Feed the cable slowly.
- Rotate rather than forcing it forward.
- A hard stop can be the toilet's bend rather than the clog.
This Old House recommends a toilet snake for stubborn obstructions that remain after plunging.
Stop if you suspect a solid object is being pushed deeper.
Retrieval is safer than forcing that object into a branch drain.
When Should You Call a Professional?
Professional help is appropriate when repeated correct plunging does not work and a toilet auger cannot restore normal drainage. A wider drainage problem also becomes more likely when another toilet or nearby fixture responds every time the affected toilet is flushed. Professional drain cleaning can help identify and clear deeper blockages affecting the toilet or connected drainage system. Water leak repair can also address plumbing leaks that may contribute to water damage or other drainage-related concerns.
Current 2026 data puts clogged toilet repair at about $85 to $600. General toilet repair averages about $271.
Professional diagnosis is reasonable when:
- Wastewater appears in a shower.
- Several fixtures stop draining.
- A hard object is trapped.
- The clog returns within a short time.
- The auger cannot clear the restriction.
- The toilet backs up without being flushed.
At that point, more plunging may only move water without addressing the actual obstruction.
How Can You Make Future Plunging Easier?
Keep the correct plunger in the bathroom rather than waiting until the toilet is already full. Store it where the rubber can dry after cleaning. A distorted cup or hardened flange can make the next seal much harder to create.
- Rinse the plunger after use.
- Disinfect it according to the cleaner label.
- Allow it to dry.
- Inspect the rubber before storing it.
- Keep non-flushable items out of the bowl.
- Watch for recurring slow drainage.
A WaterSense toilet can use 1.28 gallons per flush or less while still meeting flush-performance requirements. A weak flush therefore deserves diagnosis rather than simply being blamed on efficient water use.
Conclusion
Correct plunging a toilet technique depends on a tight seal and controlled water pressure. Fill the plunger cup with water and keep the flange centered over the outlet. Use steady strokes with extra emphasis on the pulling motion. If repeated attempts do not restore fast drainage, the obstruction may need a toilet auger. Check your plunger this week and replace it if the rubber no longer seals properly.
Frequently Asked Questions
How many times should you plunge a toilet?
Work for about 15 to 30 seconds before checking the result. Repeat a few controlled cycles rather than plunging continuously without observing the bowl.
Why does my plunger keep slipping?
The cup may contain air or the rubber may not match the toilet opening. A flange plunger normally forms a stronger toilet seal.
Should the plunger be completely underwater?
The rubber cup should stay covered enough to fill with water. The handle does not need to be submerged.
Can plunging damage a toilet?
Normal controlled plunging is generally safe. Extreme force can splash wastewater and can push certain objects deeper.
Why did plunging work only temporarily?
Part of the obstruction may remain inside the trap. Recurring slow drainage is a sign that the passage is not fully open.